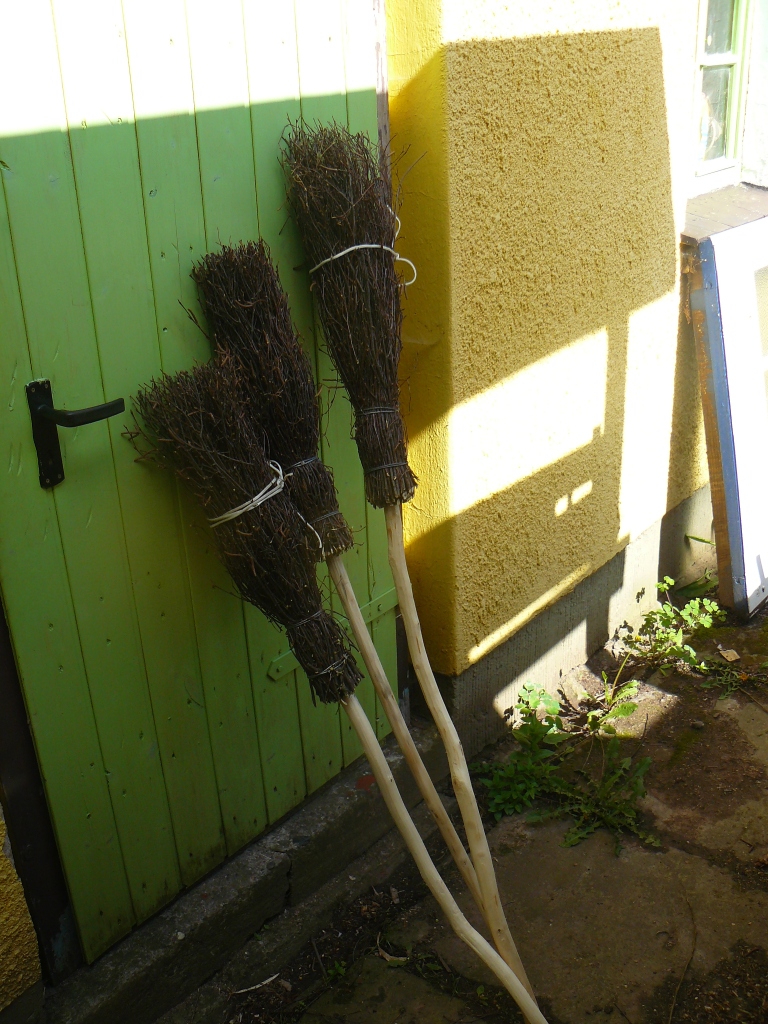
In my country Germany, birch besom binding is a winter job. Besoms are a kind of broom made from bound twigs around a handle. The birch trees have lost their leaves so it’s not hard work removing them. But, in early spring when you walk through a woodland where woodworkers felled some birch trees in the winter months gone by, you will usually find the small branches and twigs laying on the ground – left there to rot. Gather them – if they haven’t yet gotten too much spring sun, they are still fresh enough to make a besom or twig-broom. Also, grab a quite straight branch or shoot for the handle, maybe 1.20 meters (3.5 feet) long. In this article I’ll tell you how I make such a besom and maybe you’ll reproduce it for cleaning your own yard and workshop. You won’t get a better besom for the money.
Preparing the handle
Removing the bark from the branch or shoot (cut to desired length) is the first step. You can do this with a simple knife, but if you have a draw knife and a shave horse at hand, it’s much easier to use these. Work carefully around the branch knots since splintering is something you don’t want. When the handle is dried, you can use sandpaper to smooth the surface. A different approach is using a spoke shave right now. Make sure it takes very thin strips off the wood. Then go over your draw knife cuts with it. I usually get a very nice surface with this method. A cabinet scraper would also be possible to use. The last steps are carving a 10 cm (4 inch) long tip at the bottom of the handle and chamfering the edge of your saw cut on top.
Selecting the twigs
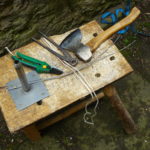
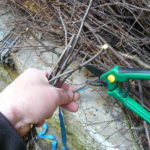
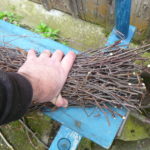
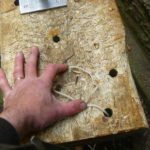
You don’t need many or exotic tools to bind a besom: a chopping block with two holes to thread rope through, some rope, a hatchet, pincers, secateurs, a larger nail and two sturdy steel wire lengths about 60 cm (2 feet) long. Make the wire a tad longer for your first try. A pencil comes in handy as well. Take your time to gather the birch twigs. Make a bundle from them. Many long, straight and thin twigs make a high quality, dense besom which cleans the floor best. Don’t use any twigs thicker than 4 mm (1/8 inch). Cut off most side twigs and add them to the bundle. Don’t worry if they are shorter than the larger ones. The long ones will break over time when you sweep the floor, and the shorties take over. Collect a bundle of twigs with a diameter of about 15 cm (6 inches) all together – that should be enough. In preparation for the next step, feed the rope through the holes in your chopping block. Make a sling of maybe 10 cm (4 inches) around on top and make a knot that you can step into at the bottom and tighten the rope around the twig bundle.
Binding the besom
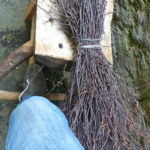
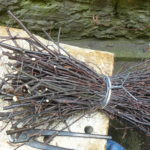
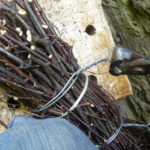
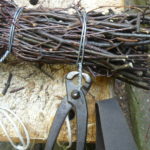
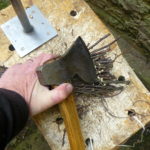
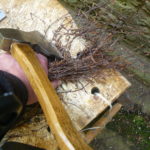
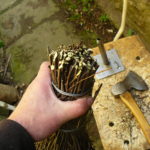
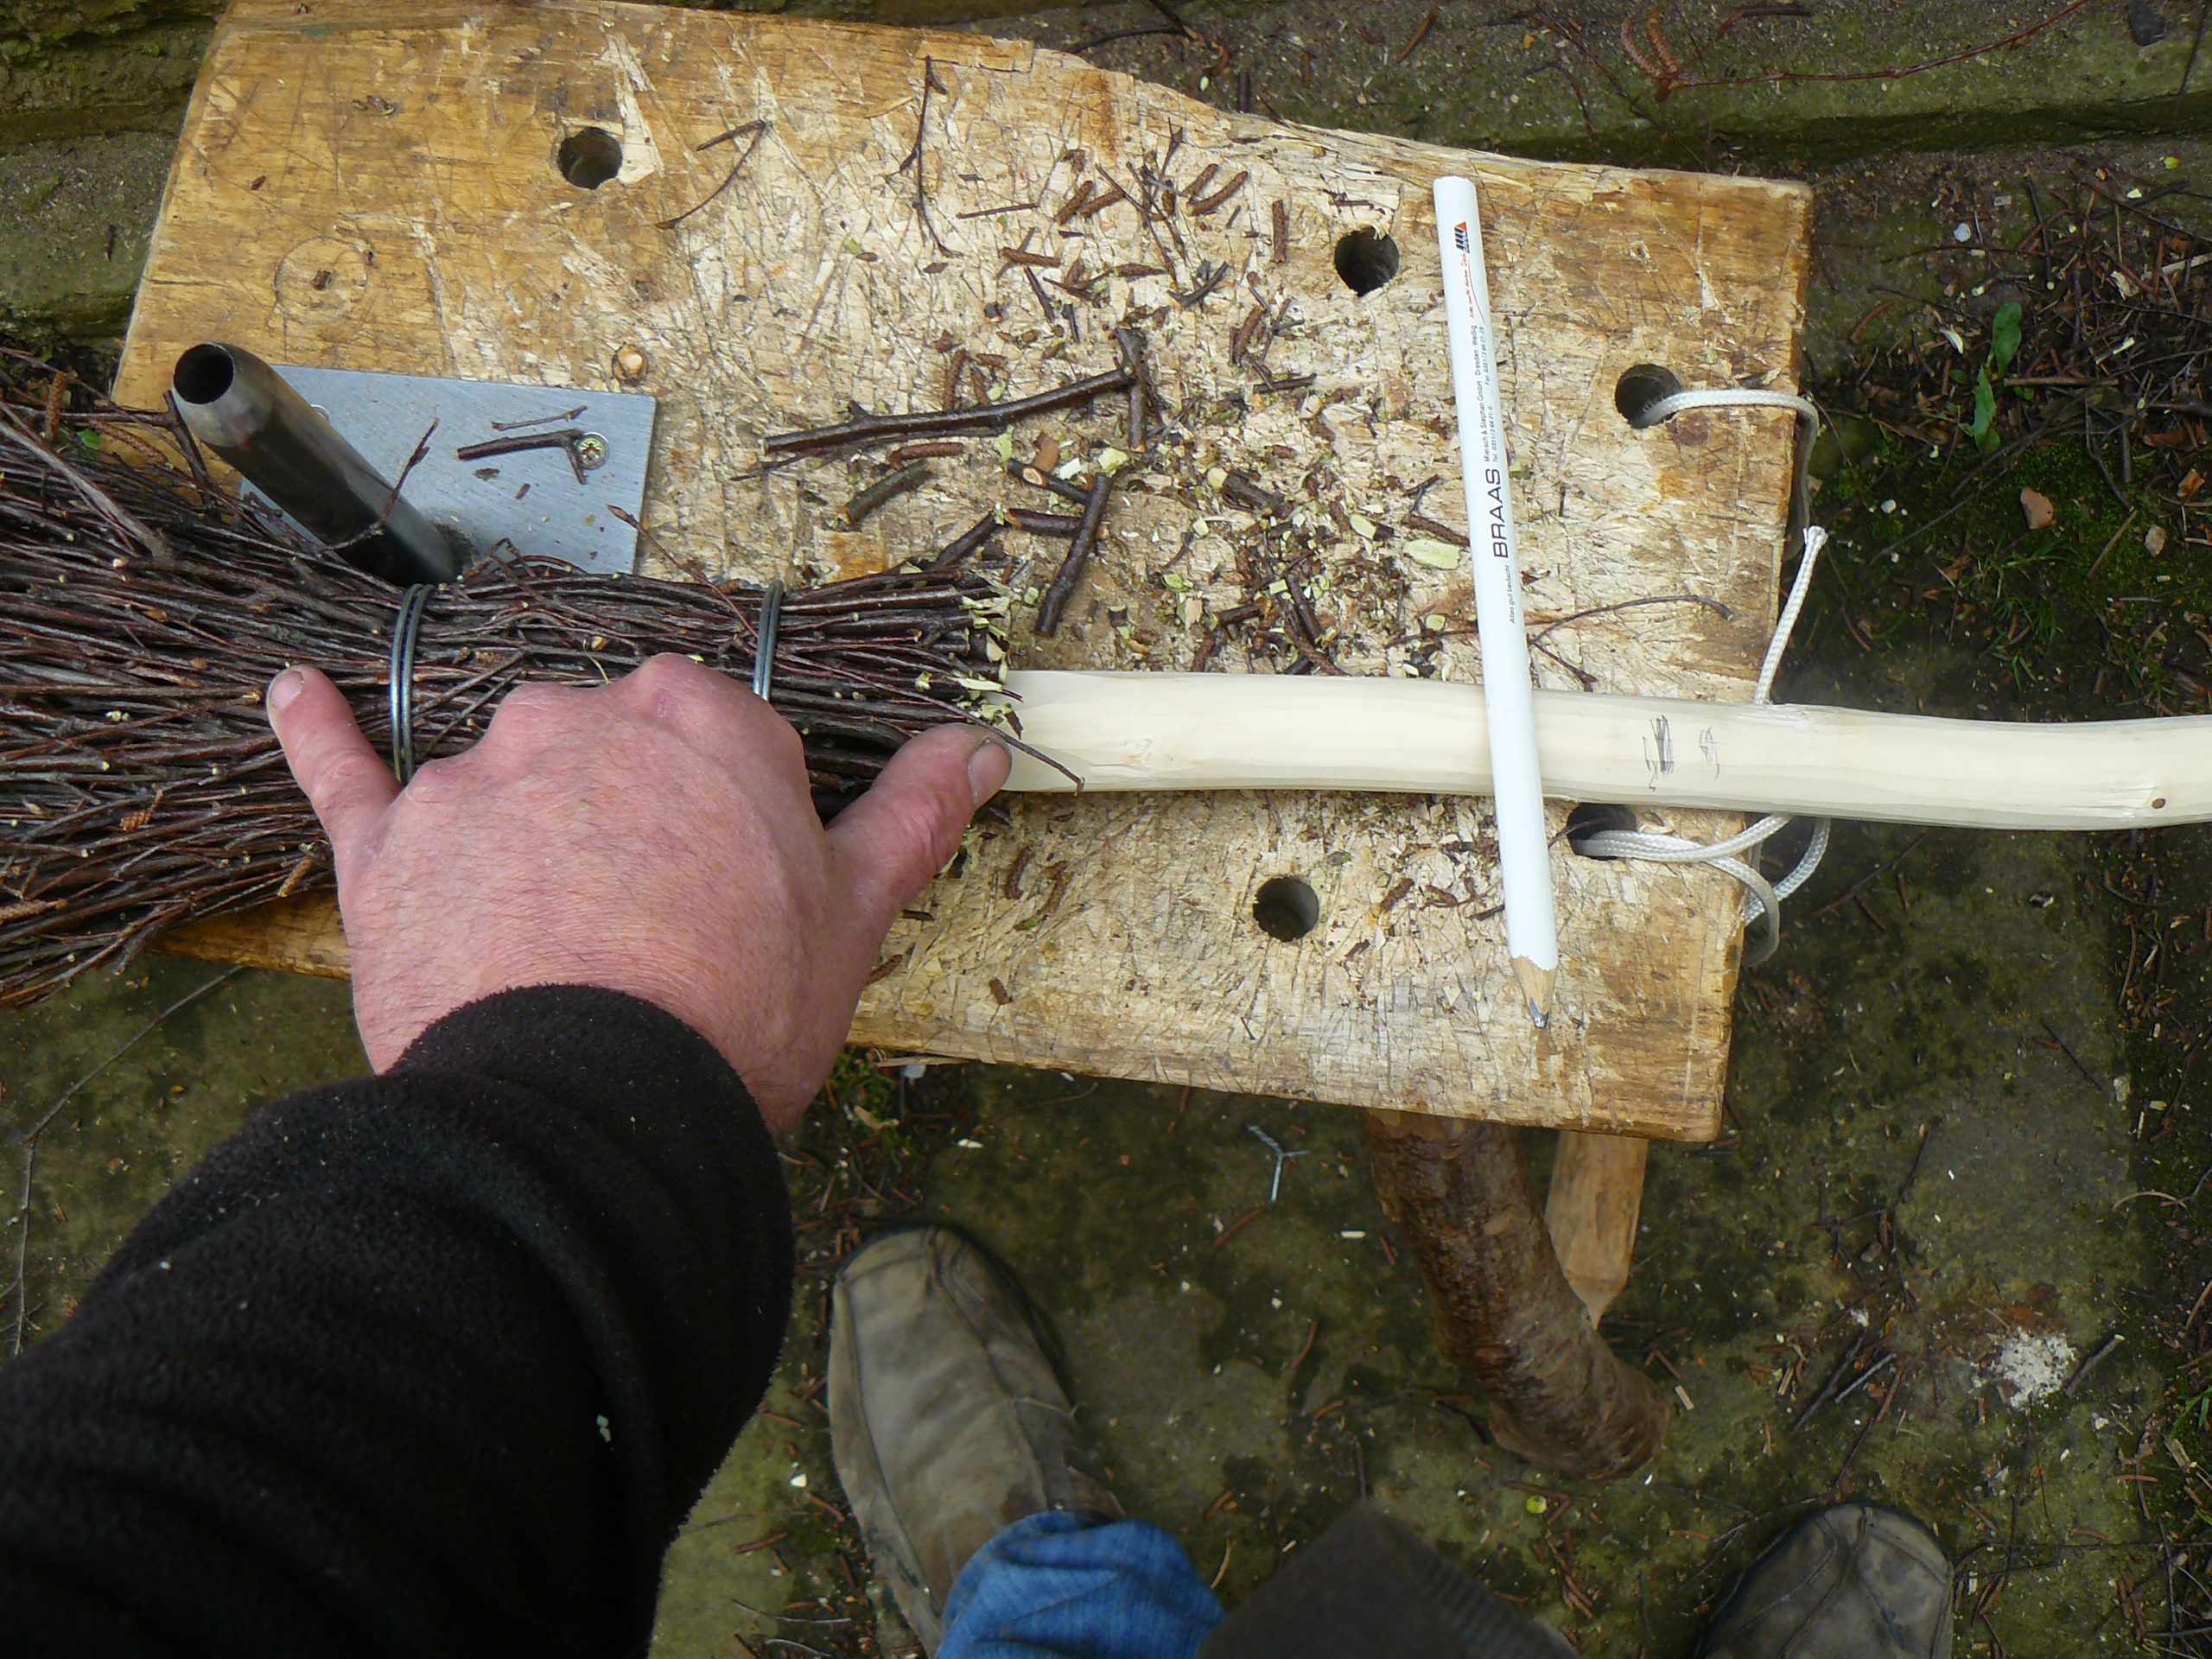
Put the twig bundle with the thick ends through the rope sling on your chopping block. You want the rope to sit maybe 20 cm (8 inches) from the end. Then step into the rope and tighten it around the bundle with your body weight. Here, sort and straighten the twigs to achieve a good result. Now wrap one of the wire pieces twice around the tightened twig bundle near the rope. With the pincers twist the wire ends together to tighten the wire sling. Pull at the same time for a tight fit like the rope. Underneath, the wire goes quite wild. Make the two wraps mostly parallel with the pincers for a nicer look. Do the same 10 cm (4 inches) from the end of the twig bundle, and you’ll have a nicely bound besom. With the pincers or a side cutter, shorten the much too long twisted wires to 1 cm/ 1/2″ and hammer them down with the back of your hatchet. With the hatchet, shorten the twig ends to a plain surface at the handle end and give the twigs an even length at the sweeping end.
Inserting the handle
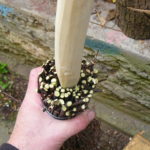
The handle goes into the flattened top of the besom. Push the handle tip into the centre by twisting and pressing as far as it goes in. Mark the length of the handle that should go into the besom with a pencil, turn the besom upside down and tamp the handle on the ground until it slides deep enough. You fix the handle with the nail going through the upper two wire wraps. For finishing your Nimbus 2000, take the rope out and knot it around the besom/broom to give it a good shape when drying.
That’s it. Have fun trying it out and don’t forget to post your pictures on the Spoon Carving, Green Woodworking and Sloyd group on Facebook!
Cheers!
Stibs


Great tutorial! Now I need to go make one!
I definitely want to make one now