We can reach for loads of tools to decorate the things we make. Some are elaborate, and take special focus, practice, and kit. Pyrography takes drawing skills and some form of hot iron. Paints need – well: paint, and brushes, and clean-up. I want to look at a few simple techniques to add a little extra interest, without needing any special tools, or material.
So, we’ll start with a roughly-carved spoon. With a bit of fiddling, these decorations would work for bowls or even furniture, too. We’ve got the shape, so let’s add some simple decoration to make it just a little interesting.
Bevels
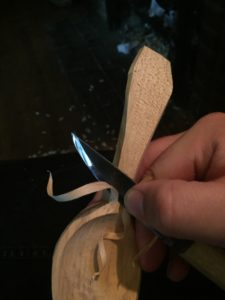
 Bevels add extra visual planes to catch light. It’s that simple. Slicing in a bevel also adds tactile interest, giving fingers a bit more variety. So, cutting the corners – in this case – can be a good thing.
It’s tricky to lay out a standard for bevels, though. A perfect 45º might be too steep or shallow for a given handle. It takes a bit of judgement and trial to find angles that work well for your piece. I tend to find that on shorter objects, such as the handles of little pocket spoons, steeper bevels (making them narrower at the top) usually work better than shallow ones (wider planes on the top) – especially at narrow points like the neck where the bowl and handle meet. You can also vary a single bevel, either its depth or angle, to create sweeping lines or to accentuate curves.
Pay attention to grain direction when bevelling. You’re trying to impose an unnatural shape onto the wood. And, it tends to show up on flat planes if you tear out fibres, or slice awkward bits that end up showing up shiny as facets.
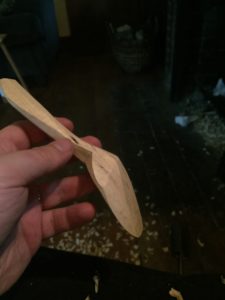
You can get some beautiful lines by joining the beveled planes. So, if we bevel the bowl of a spoon, and join it up to the handle, we can get some interesting, flowing lines. You do need to pay attention to the joins, though – this is where you can either misalign the planes (leading to a bit of a jarring join), or leave bits of wood hanging.

Facets
Bevels are single planes added to corners, but we can use interesting planes on other surfaces, too. I like the contrast between smooth and predictable surfaces with changing lines and textures on others. A good example is the inside and outside of a bowl. I like to make the inside nice and smooth – then play with the lines along the back.
You can add broad or short facets. Cutting loads of short bits gives you texture. Slicing long or broad swathes gives you bolder lines.

Beading
Six little cuts is all it takes (with some tidying shaving, if you carve like I do) to break up a longer bit of wood. Similar to the beading you can do when turning, we can chop in some angles to make a sort of visual insert.
Think about where you put beads, and how deep you make them. I like to put the beads where fingers don’t tend to be when in use. I also put them on the top and the second bevels, leaving the sides clean. This creates contrast both to the eye, and the hands. But, you can easily extend the beading all the way round a handle – just make sure your stop cuts line up.
Bear in mind how thick your piece is, too. If you’ve got a handle that’s just about strong enough as it is, you probably don’t want to cut away supporting material. That is: cut deep beads or chips on a shallow handle, and it’ll snap.
Beads and other cut interruptions tend to look better if they have a kind of visual rhythm to them. So, if you start it around a centimetre from the bowl, it looks nice for the whole bead to be about a centimetre long.
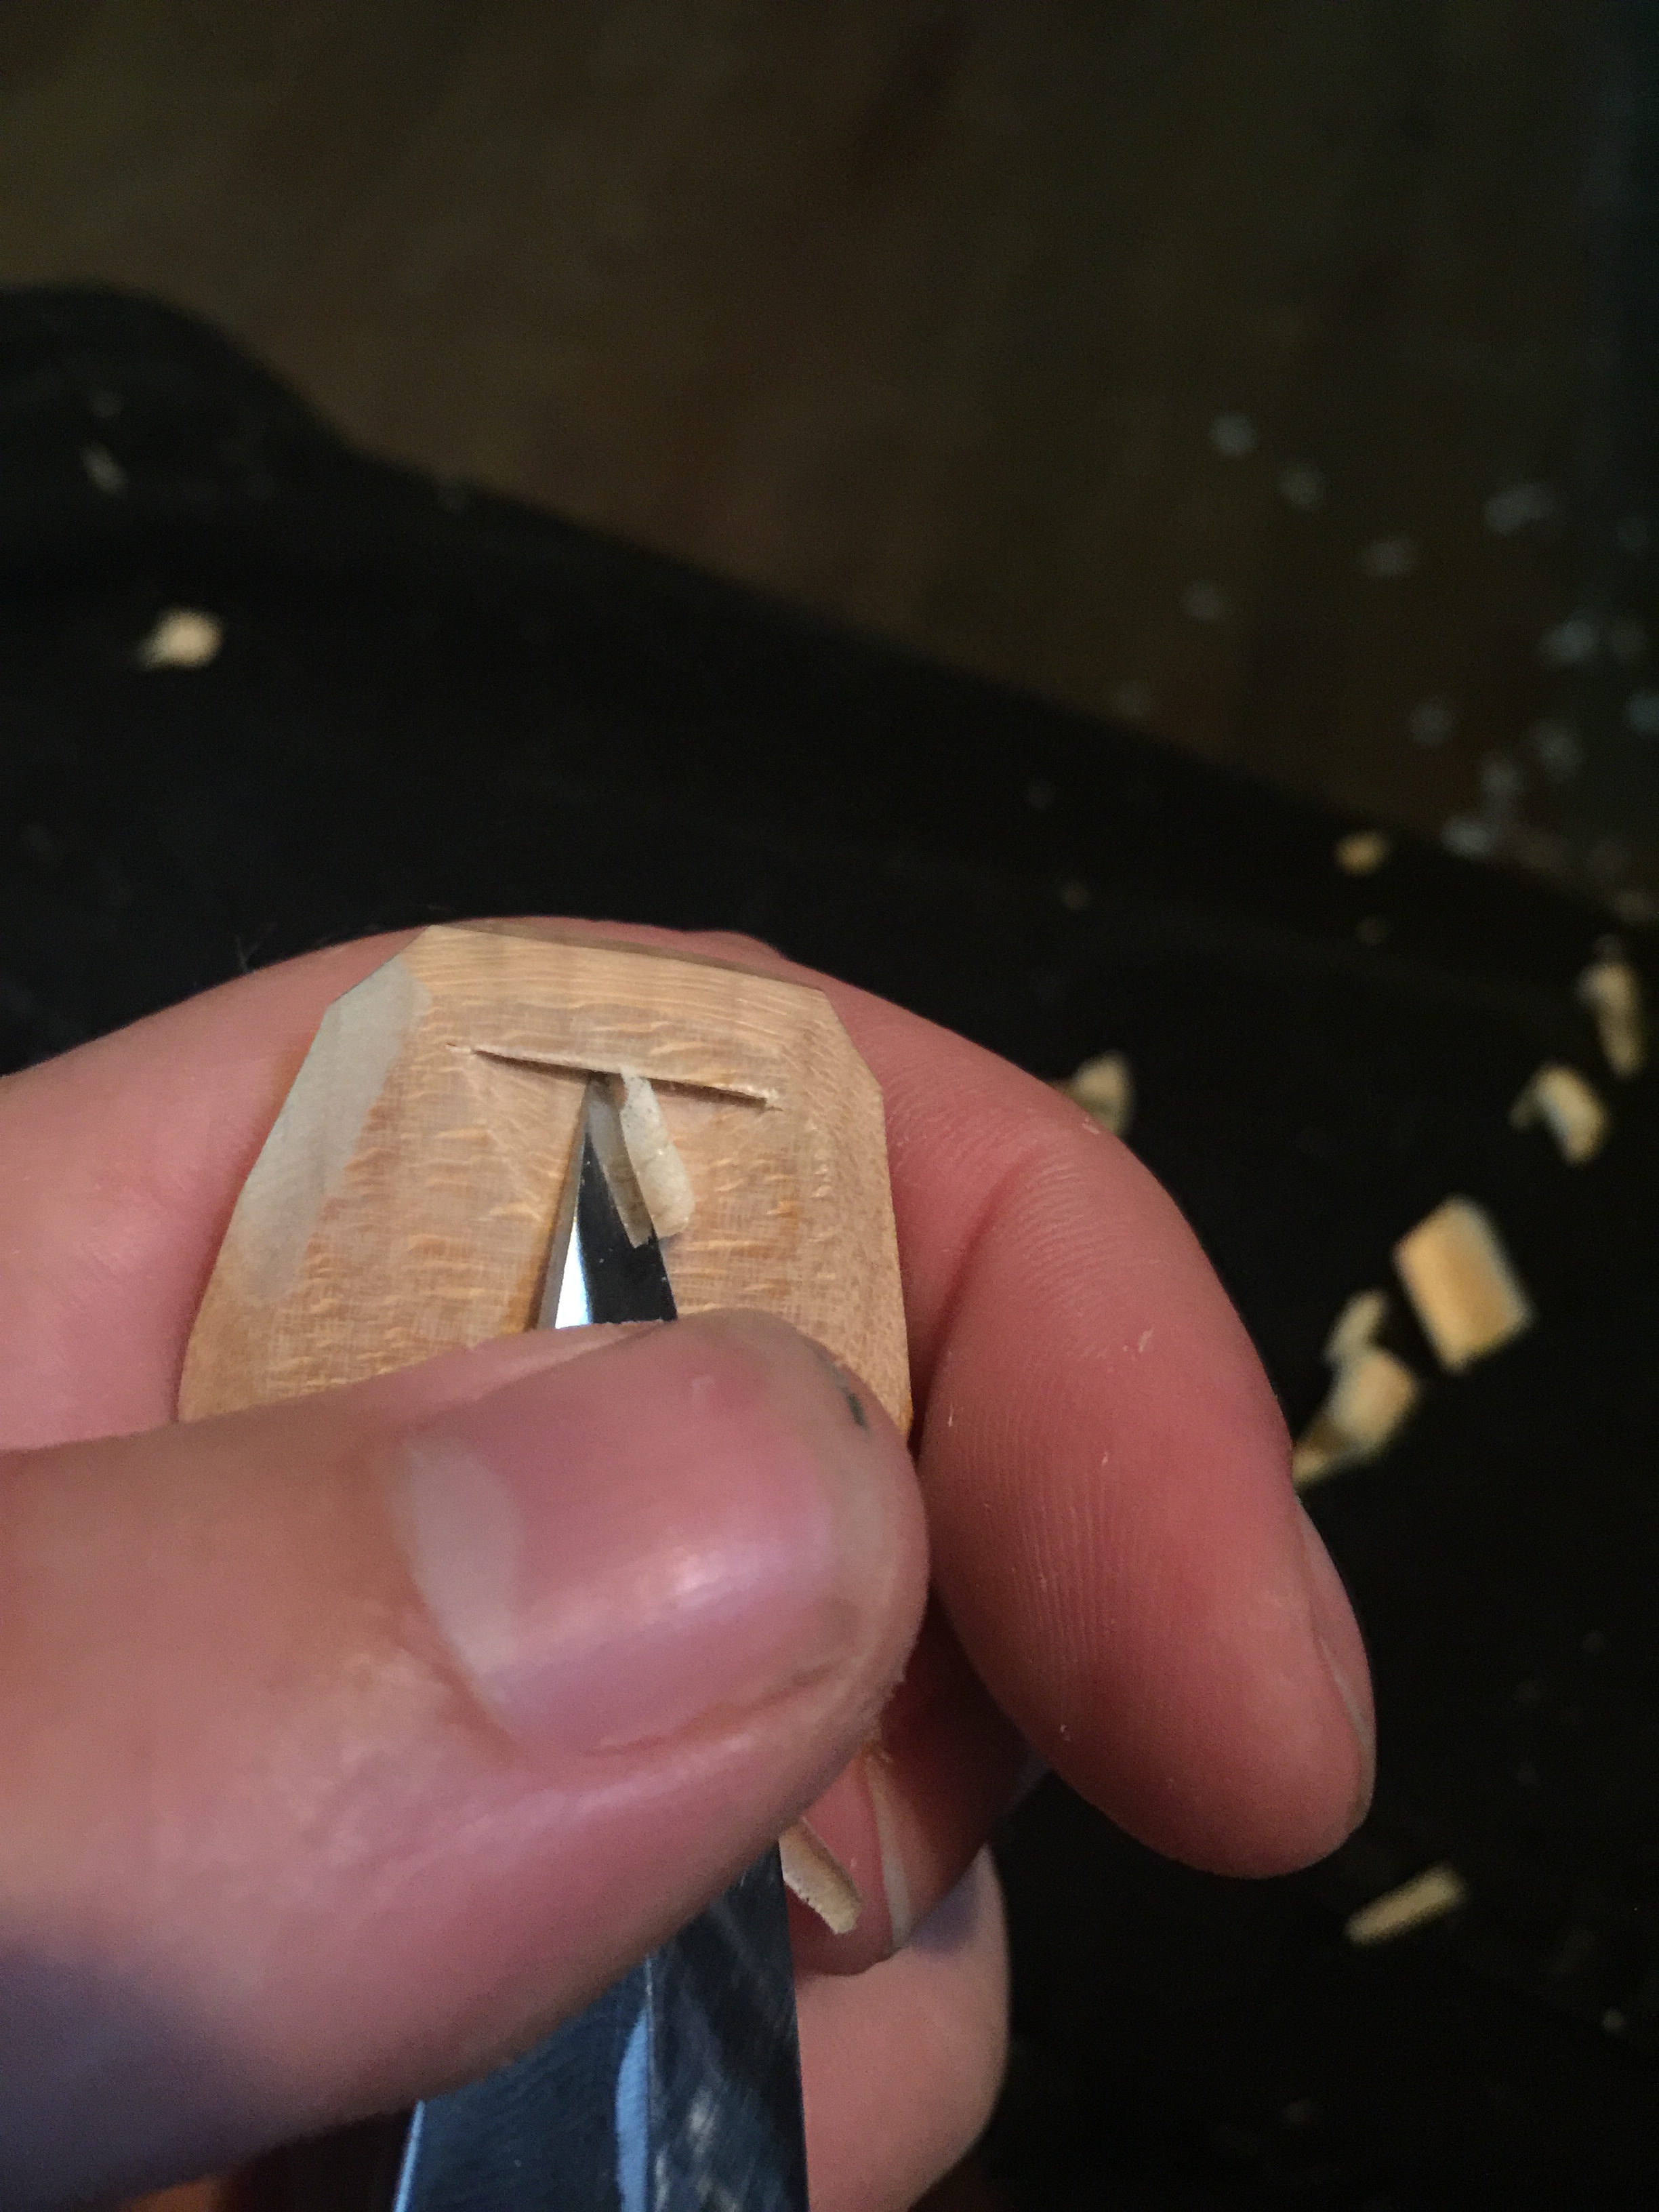
Easy chip-carving
Chip carving is simply removing little bits of wood – cutting chips out. You can create masterpieces of tessellating shapes, basket-weaving, and even shading by chip carving. But, I can’t.
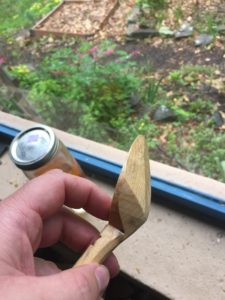
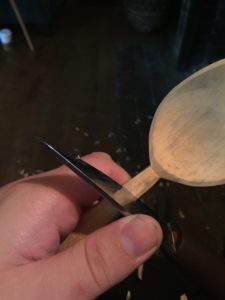
What I can do, though, is add simple shapes that either highlight or contrast a bit of the handle. The beading above is essentially chip-carving, just a really easy form that only takes two slices to pop a bit of wood out.
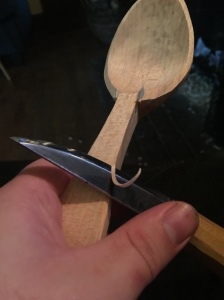
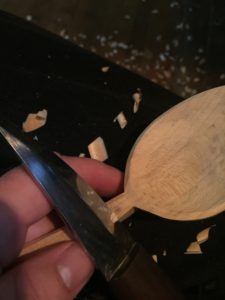
I like really simple lines and curves. This bit reminds me of the thumbnail cut in folding knives, and it’s done with two cuts.
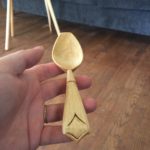
Here’s an older spoon, with variations on this two-slice carving:


Easy kolrosing
Kolrosing is essentially drawing with your knife, then filling the cuts with a powdered pigment. Like chip-carving, you can create stunningly complex patterns. Or, you can draw detailed scenes with cross-hatched shading. Ty Thornock kolroses beautiful spoons, and is writing a book on it – so I won’t go into the ins and outs of it here.
I use it sparingly, to create simple lines and shapes, or highlight angles. This is largely because I haven’t drawn in years, and I’m not very good at kolrosing yet. But, this is simple decoration, right?
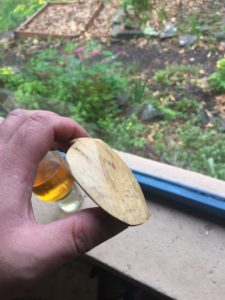
So, for this spoon, we can back-fill the chip carving with some very fine coffee grounds, and let the oil curing keep it in place. This is a kind of hybrid chip-carving and kolrosing technique. I use more traditional kolrosing to add my makers’ mark.

Oiling will also make the pigment darker, and more prominent.
Burnishing
Compressing the fibres and shining the surface isn’t a decoration, really. But, it does make the work look brilliant. Grab something smooth and fairly hard, and rub it into the planes of your work. I use a sort of hand-cut, hard-wood dowel with tapered, flat bevels on. You want to use pretty firm pressure, because you’re pushing the fibres together, so it isn’t a simple buff.
For this spoon, I also burnished the corners very firmly, taking off any sharp edges.
This only works well when the work is fairly dry. You’ll get a marble-like, shiny finish that varies with wood variety, pressure, and surface texture. Also, the burnished surface won’t last forever if you don’t lock those compressed fibres down with a finishing oil. I use raw linseed oil, which polymerises. Once the oil’s fairly well cured, I lightly burnish the spoon, shining up the now plastic-like oil surface.
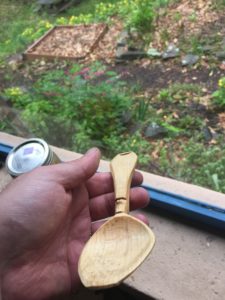
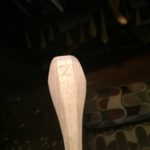
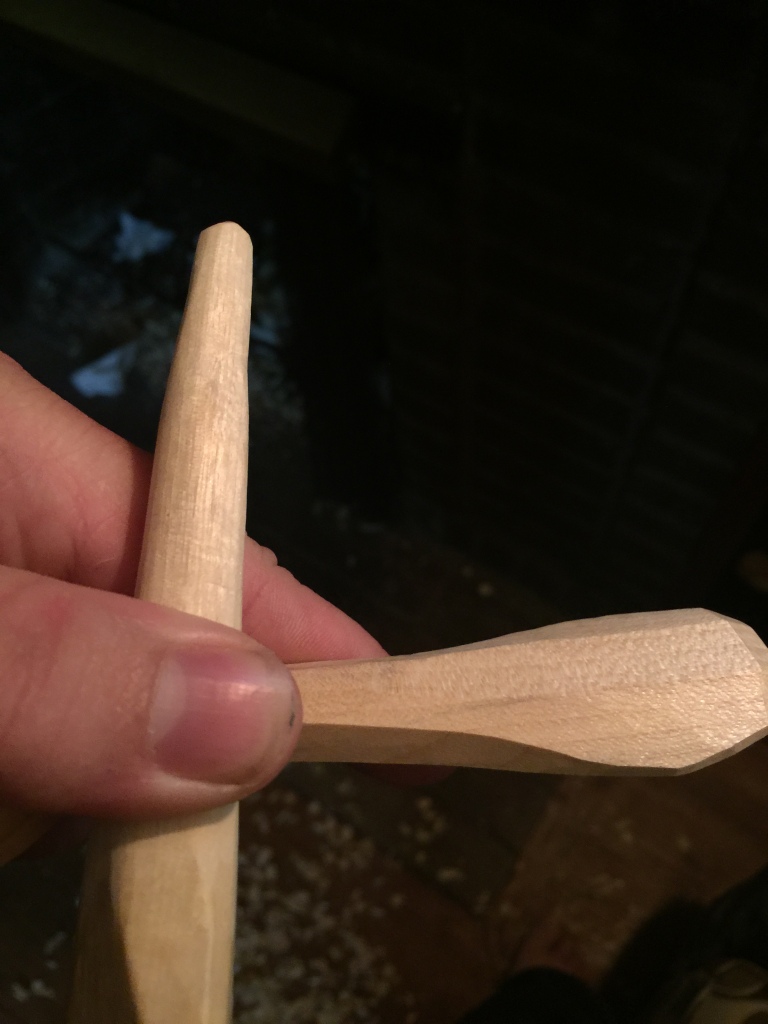
So, there’s a simply-decorated spoon
There we have it – several simple decorations even I can do. Here’s a bunch of photos of our finished spoon, all burnished and oiled.
Once it’s dry, I might even pop it onto my Etsy shop ;).